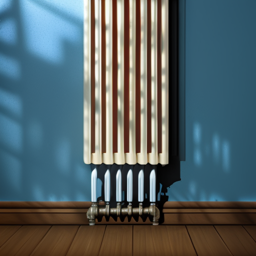
“Revamping Your Radiator: The Ultimate Guide to Painting Radiators
Radiators are an important part of your home’s heating system, but they are often neglected when it comes to décor. Over time, they can develop signs of age, such as rust, chipped paint, or an unsightly color that does not match the rest of the room. A fresh coat of paint can quickly transform your radiator from an eyesore to a statement piece. Here are the steps you need to follow to give your radiator a makeover.

Step 1
Turn Off the Radiator and Choose the Right Paint and Primer Before you start painting, make sure to turn off the radiator and allow it to cool completely. This is important because if the radiator is warm, the paint will not adhere properly or dry correctly. When selecting paint and primer, consider the type of radiator you have. If it’s non-operational, look for rust-resistant options. If it’s operational, look for paint that can resist rust and withstand high temperatures.
Step 2
Clean the Surface Before you start painting, it’s important to clean the radiator and the surrounding area. This will help ensure a smooth, successful paint job. Cleaning may involve wiping down the radiator with a damp rag, sanding rough spots or rust marks, and sweeping away any debris.
Step 3
Apply the Primer Once you have a clean surface, apply the primer in a smooth, even layer. Let the primer dry completely before continuing. The primer will provide a solid base for the paint to adhere to.
Step 4
Time to Paint! With the primer dry, wipe down the radiator with a rag to remove any excess dust, and then start painting. Allow 5 to 7 minutes of dry time between each coat. The color and thickness of the paint should increase with each additional coat. Keep adding coats until you achieve the desired look.
Step 5
Take Caution When Painting the Pipes When painting the radiator, be careful not to paint over the valves. This will prevent you from being able to adjust the temperature later. After painting, let the radiator dry for a few days before turning it on so that the paint has time to fully harden and set.
In conclusion, painting your radiator can be a simple, cost-effective way to give your home a fresh new look. With the right tools, a little bit of preparation, and some patience, you can have a beautifully painted radiator that you’ll be proud to show off. If you’re in the Pittsburgh area and need help with your radiator painting project, Trotwood Painting can help. Contact us today for a free estimate!. www.yourprofessionalpainter.com or www.trotwoodpainting.com. If you like our Blog on The Ultimate Guide to Painting Radiators please follow us on Facebook at https://www.facebook.com/TrotwoodPainting


